Wednesday, May 16, 2012

Punch & Cookies

I'm in the Apron Pattern Business !
This is my latest called . . . .
Punch & Cookies


How do you like HER?  Now who wouldn't be happy cooking in that!?

If you'd like a pattern you can email me at SEWMUCHGOOD@gmail.com and I will send you the details.  This pattern has step by step instructions as well as a picture tutorial right here. Check out my Tutorial Tab.

If you're in my area patterns are also available at Just Sew in Highland, Utah.


Friday, May 11, 2012

Iron Board Cover Tutorial -- Fast and Easy!!

I have 3 ironing boards. . . .
The big Euro board in my sewing room is covered with a purple sheet. It had to be purple to compliment my very own original painted dresser that is it mounted on.
I have another light weight skinny board that waits inside my sewing room closet until I need it. It is still in its original cover. BORING BLUE.
The last board is in my downstairs classroom and the poor thing is covered with a very 90's design that has lost its youthful charm. Take a look. Pre--ty Sad.


Definitely time for a new cover. A FAST & EASY cover! Follow along and I'll show you how to do one for your SAD BOARD. 

Gather the tools and supplies you will need:
Tape Measure
Rotary cutting ruler (if you have it) or another straight edge at least 12" long.
3 yards of 1/4" elastic
Scissors
Your standard iron board is 53" long and 14" or 15" wide. You will need about 2 yards of 45" fabric.
Note:  If you are buying fabric you will need 1 7/8 yd for the top and about 3/8 - 1/2 yd for the bias casing. The casing is never seen so you could make it out of anything from your scraps. If you and a friend are very careful you can get two covers out of the width of your fabric.

Open the fabric and lay it out on a table (at least 53" long) or on the floor.
Next turn your ironing board upside down on the fabric. Like so:

Adjust the board so it is straight with the grain of fabric and  laying about 4 inches away from the selvage edge and the top edge.
Next using your tape measure and a straight edge, mark a line 3" from the board all the way around.


Make the corners rounded out a bit -- not too sharp, like so:

Next cut the whole thing out along your drawn line.
You will now make the casing for your elastic.
Your cover top now measures about 21" wide and 59" long. To go all the way around you will need a 2" bias strip about 170" long. 
Using your favorite method cut from your remaining fabric or any old fabric, enough 2" bias strips to measure at least 170" sewn together

I like the ends of my strips cut at 45 degree angles before I sew them together. I stack all the 'front' ends together and cut them using a line on my cutting mat.
Then I re-stack them with the 'back' ends together and cut them using the same line.
Now I am ready to sew the pieces together to make one long strip.

I put the ends together like this.

And sew like this.
When I have sewn one I pick up the free end - 'back end' of the top strip and turn it right side up.
 I put the 'front' end of the next strip on top of it and continue sewing without cutting the threads --- 'chain' piecing them together.

When I'm done I press the long strip is half -- pressing the seams open as I go.
When you are done pressing cut the starting end of the strip off straight.

You will now need your 1/4 elastic. I just happened to have an old package of black so that is what I will use.
I know, I know it's black but it makes me feel 'green' to use something that is just sitting in the drawer.
Starting in the middle of the straight end of your board cover, lay the elastic in the crease of the casing and use a safety pin to secure it. (Don't try to use a straight pin here because it might come out and let your elastic disappear into the casing. ARGGHH!) You will have to pin over to the left so you can sew a 1/4" seam . . . like so:
As you sew the casing make sure the elastic stays in the crease so you don't catch it in the stitching. Ease your bias casing around the corners.
When you have sewn up the first straight side you should realize that 3 yards of elastic is not enough to reach all the way around the board. You will need to stop and pull up some of the elastic. BE CAREFUL. Don't Pull Against your Sewing Machine Needle. The cover will gather up some behind your sewing.
Continue sewing and stopping to pull up the elastic a bit until you have gone all the way around.
When you get close to where you started, stop and cut off the end of your strip just a smidge short of the starting end.
Finish sewing to the end. It should look like this.

DON'T TAKE THE SAFETY PIN OUT YET! Put the cover onto your ironing board. You can leave the old cover in place or take it off. But if you have padding that looks something like this underneath leave it on.

The cover will be loose and the gathers all over the place.
 Smooth it out a little and flip it upside down on the  table or floor, just like before. 
Now is the time to carefully undo the safety pin with a firm grip on that end of the elastic. Pull it up hard. You may want to re-pin it while you work the fullness to the corners and front end of the board. 


When you have the cover adjusted where you want it  - pull up the elastic as tight as you can and tie it in a knot. Cut off all but 2 or 3 inches and tuck it in.

And there you have it! FAST and EASY! Ahhhh . . . . isn't that nice.


Yours doesn't have to be nice . . . it can be wild or crazy or cute or beautiful! Whatever suits your fancy!
My friend Amber made a beautiful red one. Check out her post Red, White and Blue over at A Little Bit Biased. Clever Girl!

Tuesday, April 17, 2012

Aren't they CUTE!

My smocking group has been meeting every other Thursday and getting things done!
Here are some picture's of Jacy's latest project.
Easter dresses for her two darling girls! 

Look at brother's matching shirt!

So Great! Good work Jacy! Especially getting them all sitting down and smiling!


Beep! Beep!

I finished the quilt and it is on display at Just Sew. There are kits available and patterns.


Now we will just wait for Grandson #11 to be born in July! He has a quilt ready and waiting.

Friday, March 30, 2012

Perfect Checker Board

I just made a quilt and published a pattern with a band of 2" checker board across the top and bottom of the center.
Checker boards make a great bold statement of color and design.

Here are a few tips for sewing and pressing a perfect checker board.

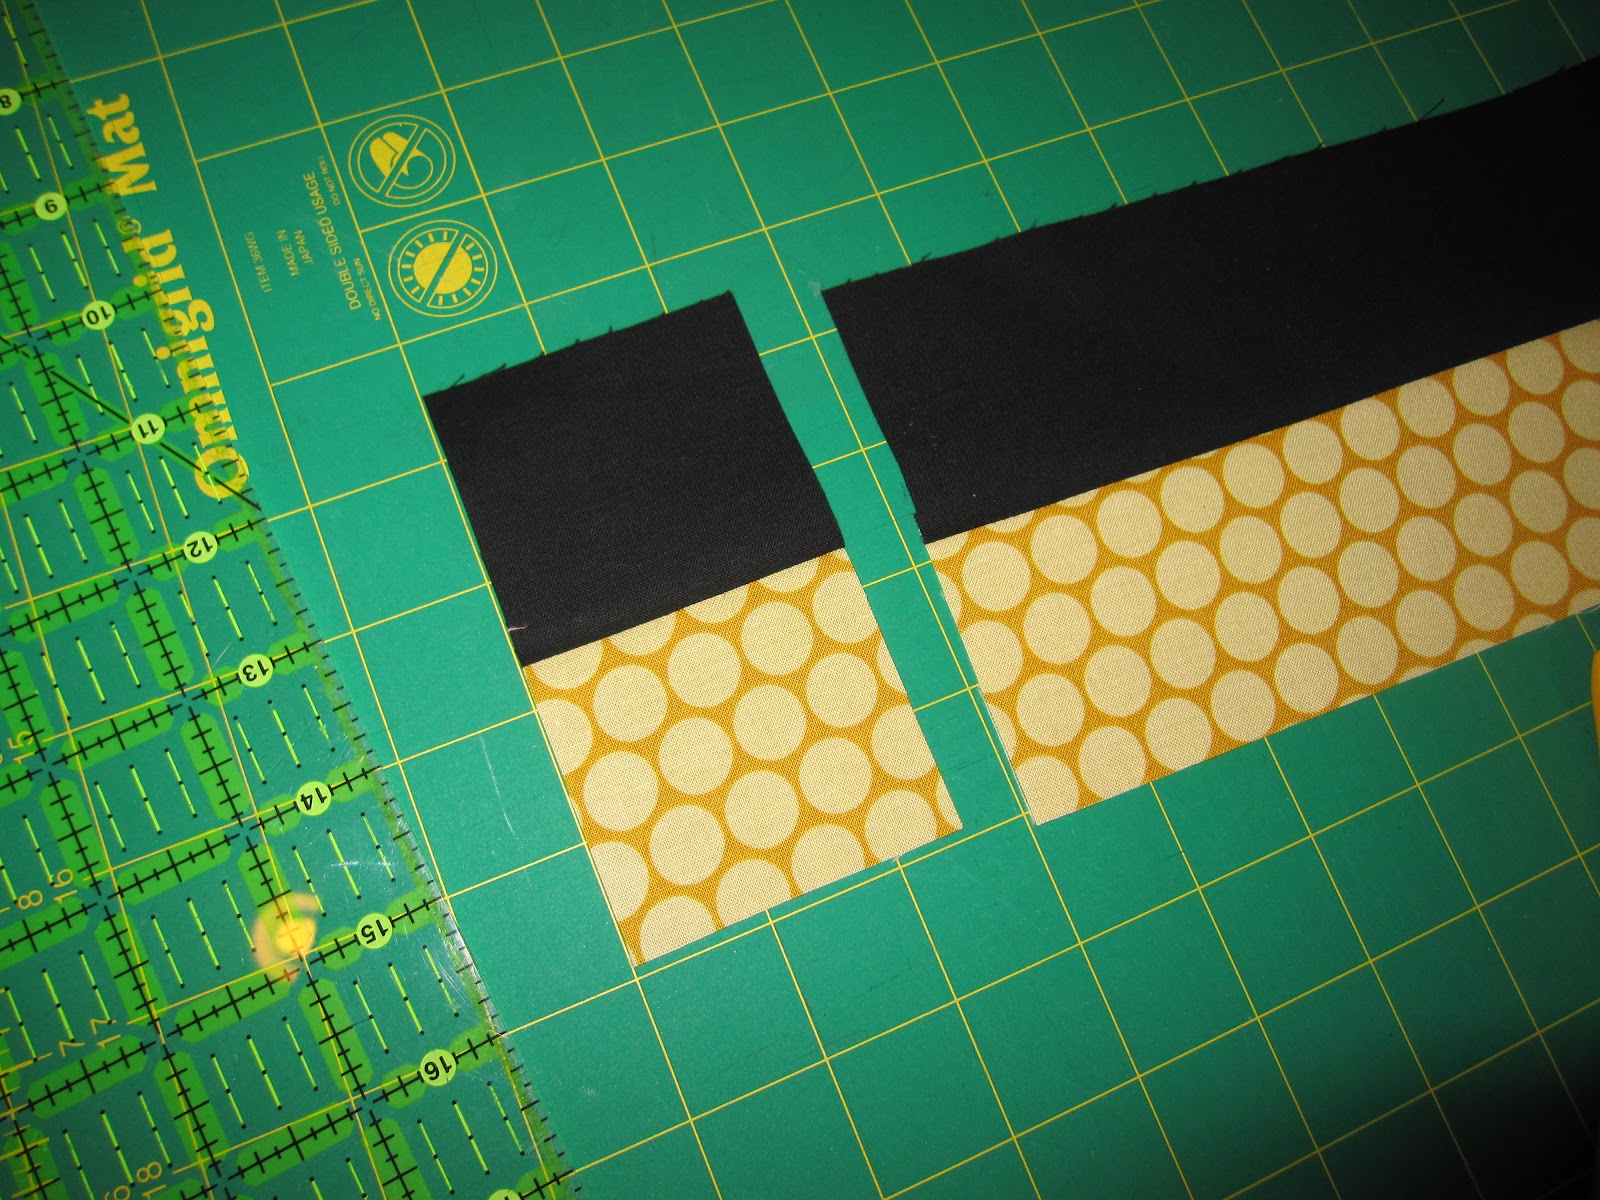
I started with two contrasting strips cut 2 1/2" WOF (width of fabric)
My checkerboard will finish with 2" squares.

In this case I used black and gold. For the greatest impact it is important to use high contrast colors.

I sewed the long sides of the strips together and checked to see that my pieced strip measured exactly 4 1/2".
That meant my seam allowance was exactly 1/4".


I squared up the edge and then sub-cut the strip into 2 1/2" segments.
So what's that blue tape on my ruler?
When cutting multiple segments I put a piece of blue tape on my ruler close to the line I need so that I don't get distracted and cut the wrong size!! Can you tell this has happened to me more than once?!


I then put these segments together locking the opposing seams in tight.

Feel that lock -- See that lock. Pin if you need to but keep those seams locked tight together.


I sewed them together for a perfectly matched intersection.

Almost done!

Next I pressed the seam from the wrong side to relax the thread and embed it into the fabric.

Which way does the seam go? It goes both ways?! Yup - watch.

I carefully released the initial stitching both sides of each intersection to allow the seams to press open in in the middle. Here's the right side --
Here's the left side --


Opening the middle it looks like a mini - four patch! How cute!


Using just the tip of my iron I pressed each intersection open.


Then I turn everything to the right side and finished pressing the seams to one side or the other.
Result?  Perfect Intersection!!


But Wait! One more test.
Each of my checker boards needs to measure 2" from seam to seam. Let's look.

Now that's a Perfect Checkerboard!!!!
Happy Quilting.
P.S. The quilt is at the quilter. It's called Beep! Beep! and is made with the Riley Blake Peak Hour line. 
I'll post a picture as soon as the binding is on but here's a sneak preview - 

Wednesday, January 25, 2012

Classes, Workshops & Work Group


Learn to smock! You can do this!


Introduction to English Smocking - Cost $15  (Class limited to 6 people)

This class is for individuals who have never smocked before or need a refresher of the basics. Fee includes a kit with materials needed. It would be helpful to bring your own small scissors and some strong straight pins.

Tuesday, January 30, 1:00-2:30 pm
Wednesday, January 31, 7:00-8:30 pm

Smocking Workgroup - Cost $10 per meeting (Each group meeting limited to 6 people)
Workgroups will meet twice a month on Tuesday or Friday afternoons and Wednesday evenings, depending on the desire of the group members. This is an on-going work group.
Members will have access to my large library of patterns and on-going help and instruction with smocking, sewing and embroidery. Each member may choose her own project. Each group meeting is limited to 6 people.

Open House (no charge)
Come and sign up, look over the pattern library, choose your project. For those of you interested in the workgroup you will want to come and choose your project so you can bring materials to the first meeting. There is plenty of time for an Easter Dress!!!
Thursday, January 26, 7:00-8:30 pm
Friday, January 27, 2:00-4:00 pm


Coming in March:
Quilting Workshop Series
Each series will feature a small project to hone specific skills.
Possible Example: Series A
                Project - Table Runner
                Class 1 Perfect cutting, perfect seams, perfect pressing =perfect piecing
                Class 2 Triangle Primer: Flying geese, stars
                Class 3 Binding your quilt
               
Individual Instruction - Cost $20 each person (Mother/daughter or 2 people together $25)
1 1/2 hours of personalized instruction for the sewing/quilting project of your choice. Call to schedule.

SEND AN EMAIL TO SEWMUCHGOOD@GMAIL.COM 
ALL FEES MUST BE PAID IN ADVANCE TO RESERVE YOUR PLACE.

ALL CLASSES WILL MEET AT MY HOME. CONTACT ME FOR ADDRESS.


Eva

Tuesday, January 24, 2012

I have been busy . . .

The holidays are over and the New Year is in full swing!!
It is definitely time to blog again here at Sew Much Good.
I have been busy smocking for some special people and here's the proof.

This is Mallory and she turned 8 today! 
Mallory is my nephew's daughter. That makes me her GREAT aunt.
She came by for her dress on Saturday and she looked like a Princess just trying it on.
We all LOVED the pink smocking with pearls, the pink cummerbund and pink sash.


It was just the right touch of COLOR.
Wait 'til she has a big 'poof' slip on so she can TWIRL!

LOVE THAT SMILE!
Happy Birthday, Mallory!!!

This next dress is a work in progress but I'd thought I give you preview.
The inspiration was from Gail Doan's Cute as a Button book. I was just smitten with look of the little buttons on the Bishop's yoke smocking.


This dress is for 2 year old Hannah, my youngest granddaughter.


Come back and see Hannah model the dress with the corduroy swing-jacket. Here she is in her Easter dress.


Hannah twirling with Big Sister.
See why I love to Smock!?!